In recent years, the trend of crafting home decor items has gained immense popularity, with many people turning to DIY (Do It Yourself) projects to express their creativity and personalize their living spaces. Among the myriad of DIY projects available, crafting wood and glass vases stands out for its elegance, versatility, and environmental friendliness. In this article, we will explore various aspects of creating sophisticated wood and glass vases, including materials, techniques, and design inspiration. Whether you’re an experienced crafter or a novice looking to embark on a new hobby, this guide will provide you with the insights you need to create stunning pieces for your home.
Why Choose Wood and Glass for Your DIY Vases?
Combining wood and glass in your vase projects offers a unique aesthetic appeal that can enhance any room’s decor. Here are some reasons why these materials are ideal for crafting vases:
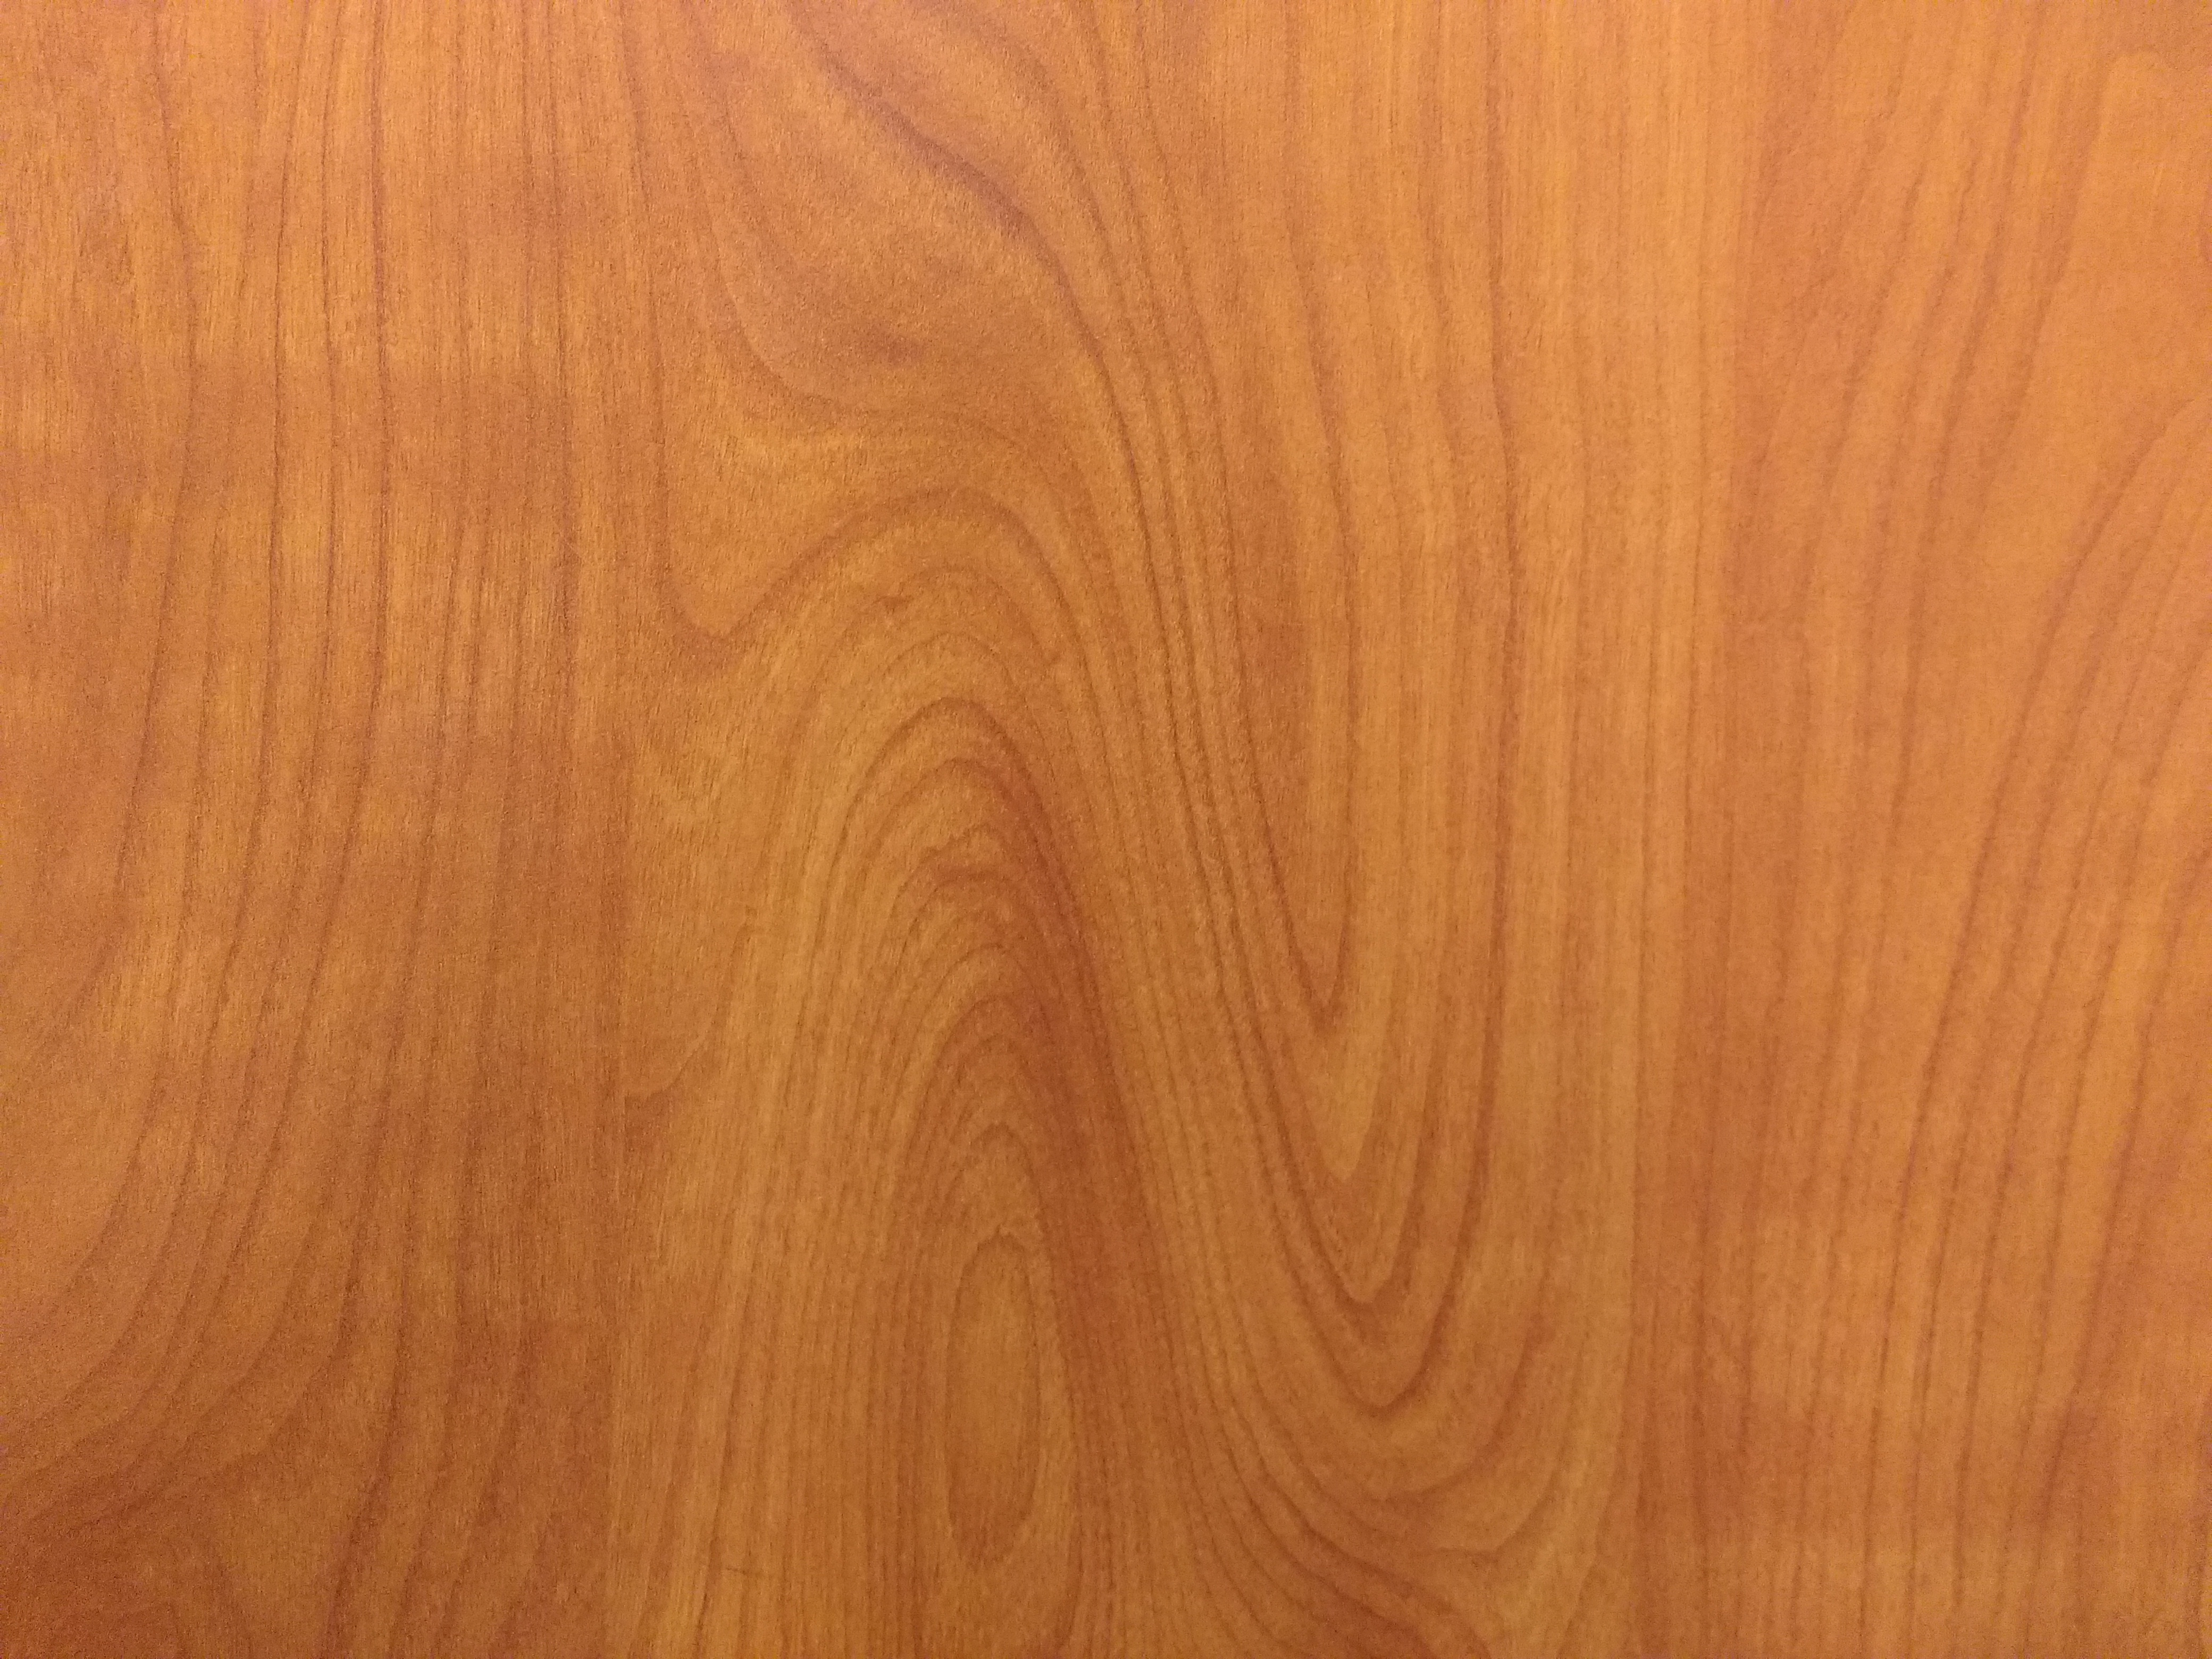
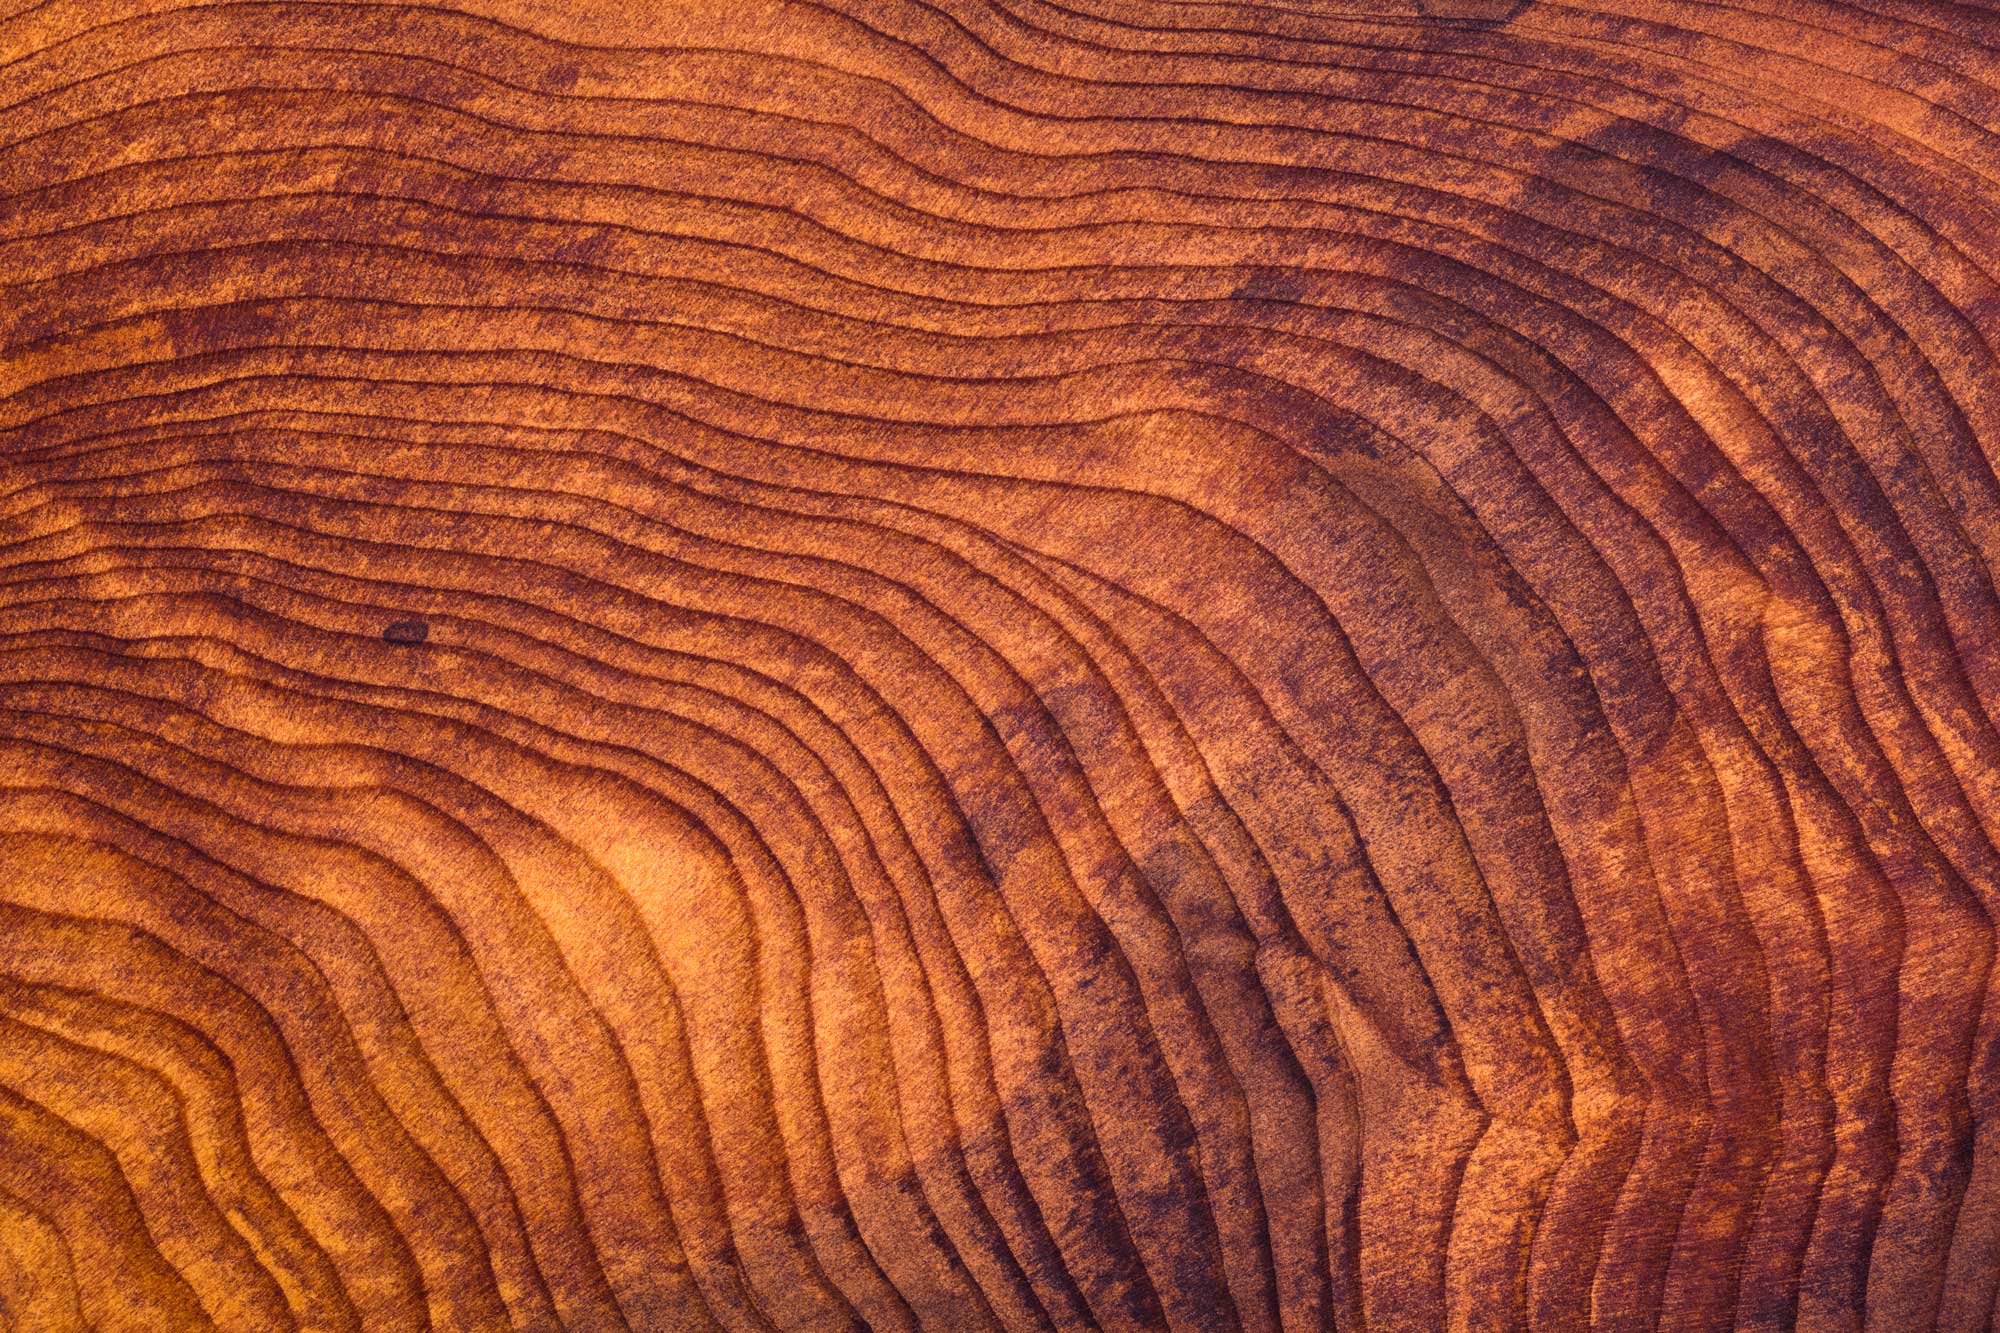
- Natural Beauty: Wood brings warmth and texture, while glass adds a touch of elegance and transparency, allowing for a beautiful interplay of light.
- Versatility: Both materials can be shaped, painted, or stained to fit any design style, from rustic to modern.
- Durability: Wood and glass are robust materials that can last for years if maintained properly.
- Eco-Friendly: Utilizing reclaimed wood or sustainable sources reduces environmental impact, aligning with eco-conscious consumer trends.
Essential Materials and Tools

Before diving into your DIY project, it’s crucial to gather the necessary materials and tools. Here’s a comprehensive list:
- Wood: Choose from options like pine, cedar, or reclaimed wood for a rustic look.
- Glass Vases: Clear glass vases or bottles can be repurposed or purchased from craft stores.
- Wood Glue: A strong adhesive for securing wood pieces together.
- Wood Stain or Paint: For finishing touches, providing color and protection to the wood.
- Sandpaper: To smooth rough edges and surfaces.
- Cutting Tools: A saw for cutting wood to desired shapes and sizes.
- Drill: For creating holes for securing the glass and for decorative purposes.
- Protective Gear: Safety glasses and gloves to ensure safety while working.
Step-by-Step Guide to Crafting Your Wood and Glass Vase

Now that you have your materials ready, let’s walk through the process of crafting a simple yet elegant wood and glass vase.
Step 1: Design Your Vase
Before you begin, sketch out your design. Consider the size, shape, and style of the vase you want to create. A simple rectangular or cylindrical shape works well for beginners.
Step 2: Prepare the Wood
Using your saw, cut the wood to your desired dimensions. Aim for a base that can support the glass securely. Sand the edges and surfaces to ensure a smooth finish, avoiding splinters.
Step 3: Assemble the Base
Using wood glue, attach the pieces of wood together to form the base or frame of your vase. Allow the glue to dry completely according to the manufacturer’s instructions.
Step 4: Secure the Glass
Once the base is ready, place the glass vase or bottle in the center. If needed, drill a hole through the wood base and use screws or additional wood glue to secure the glass in place.
Step 5: Finishing Touches
Apply wood stain or paint to enhance the visual appeal of your vase. Choose a color that complements your home decor. After the finish is dry, you can optionally apply a clear sealant for added protection.
Step 6: Add Flowers or Decorative Elements

Fill your new vase with fresh flowers, dried arrangements, or decorative stones for an added touch of elegance.
Design Inspirations for Wood and Glass Vases
To help spark your creativity, here are some design ideas for your wood and glass vase projects:
- Rustic Charm: Use reclaimed barn wood for a weathered look paired with a mason jar as the glass component.
- Modern Minimalism: Create a sleek geometric shape with smooth, painted wood and a tall, slender glass cylinder.
- Boho Style: Incorporate colorful paints or stains and add macrame around the vase for a trendy bohemian aesthetic.
- Seasonal Themes: Change your vase decorations with the seasons—use pinecones and evergreen branches in winter and wildflowers in summer.
Case Studies: Successful DIY Wood and Glass Vase Projects
To illustrate the popularity and creativity surrounding wood and glass vase projects, let’s examine a couple of case studies:
Case Study 1: The Minimalist Home
In a minimalist home designed by the architecture firm “Studio McGee,” the use of a simple wood and glass vase was highlighted. The vase, made from a smooth walnut base and a clear glass top, served as a statement piece on a dining table. It was filled with a single stem, emphasizing the beauty of simplicity.
Case Study 2: The Rustic Wedding
A local couple hosted a rustic-themed wedding where they crafted numerous wood and glass vases as centerpieces. Each vase featured a unique wooden base made from reclaimed wood, showcasing the couple’s commitment to sustainability. They filled the vases with wildflowers, creating a charming atmosphere that perfectly matched their wedding theme.
The Benefits of Crafting Your Own Vases
Creating your own wood and glass vases comes with numerous benefits:
- Cost-Effective: DIY projects can save money compared to buying expensive decor items.
- Personalization: You can customize the design to fit your personal taste and home decor style.
- Therapeutic Experience: Engaging in creative projects can reduce stress and provide a sense of accomplishment.
- Skill Development: Crafting helps hone skills such as woodworking, painting, and design.
Crafting elegant wood and glass vases is not only a rewarding DIY project but also a fantastic way to enhance your home decor. By combining the natural beauty of wood with the sophistication of glass, you can create unique pieces that reflect your style and personality. From gathering materials to executing your design, each step in the process offers an opportunity for creativity and self-expression. With a little effort and imagination, you can transform simple materials into beautiful, functional art that elevates your living space. So gather your supplies, find a design that inspires you, and embark on your DIY adventure today!


